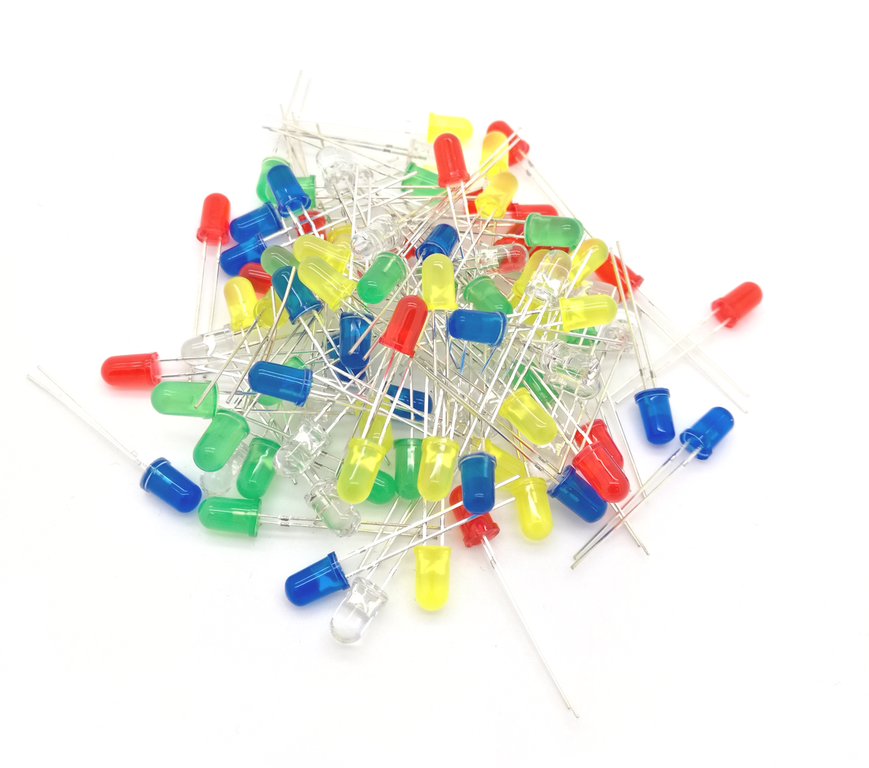
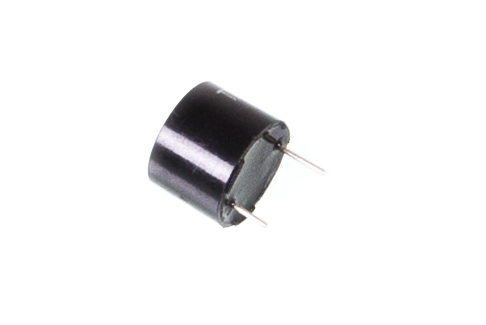
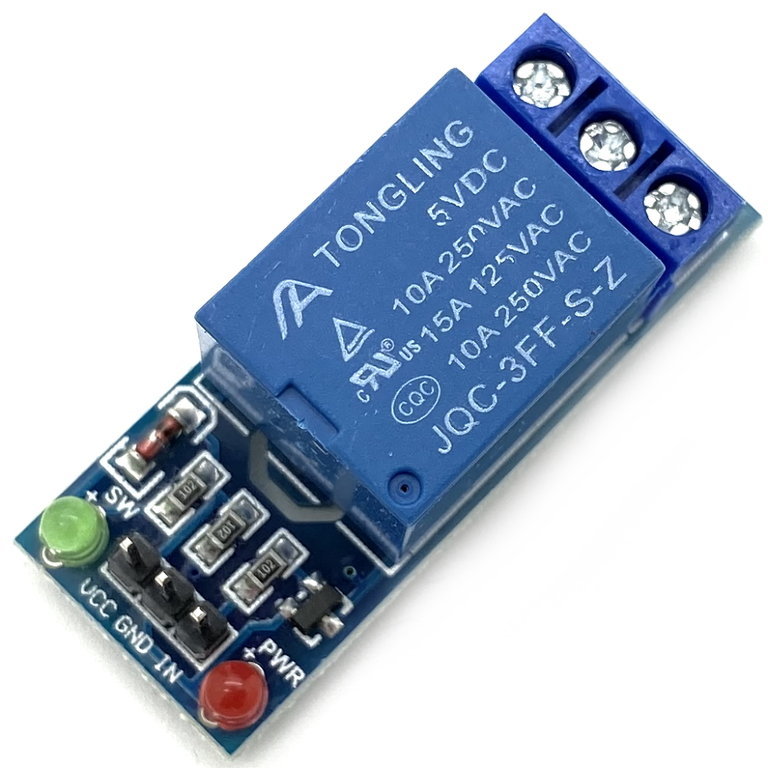
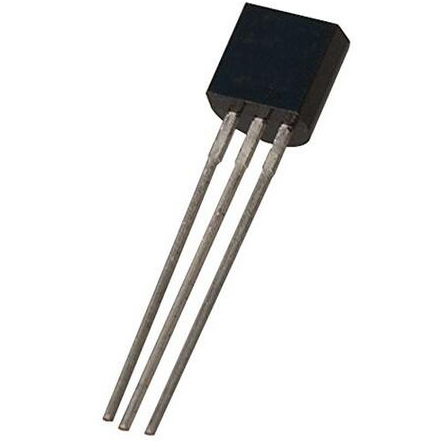
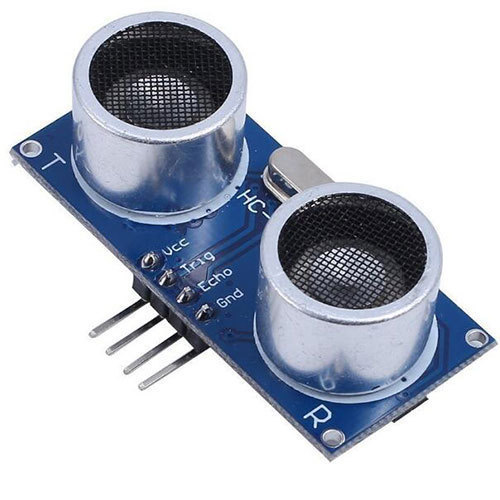
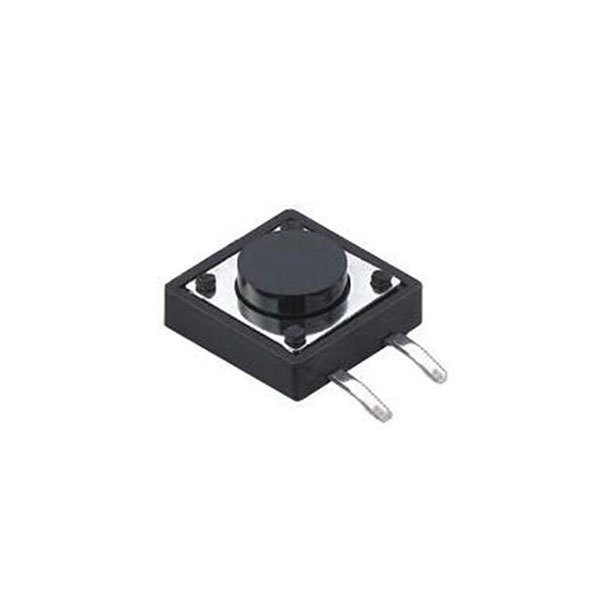
The following sections describes the available components in Automaduino. They’re grouped like in the editor into three sections: Output, User Input and Sensors.
This the multi-page printable view of this section. Click here to print.
Components
- 1: Output
- 1.1: LED
- 1.2: Buzzer
- 1.3: Vibration Motor
- 1.4: Relay
- 1.5: Servo
- 2: Sensors
- 2.1: Motion Sensor
- 2.2: Temperature Sensor
- 2.3: Humidity Sensor
- 2.4: Vibration Sensor
- 2.5: Loudness Sensor
- 2.6: Ultrasonic Ranger
- 3: User Input
- 3.1: Button
- 3.2: Switch
- 3.3: Slider
- 3.4: Potentiometer
1 - Output
1.1 - LED
Connection scheme
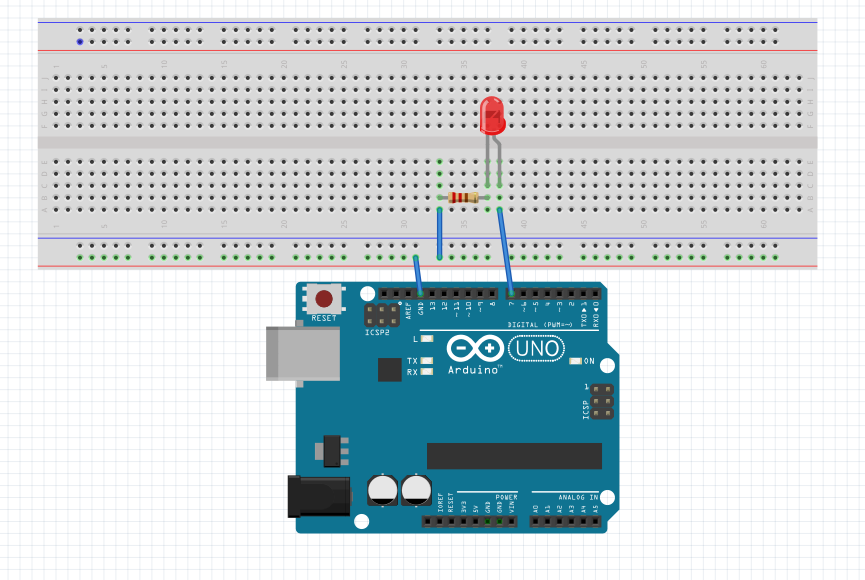
Scheme made with Fritzing.
Functions
On
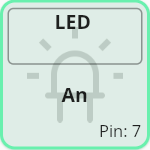
On State
Switches the component on.
void function_0_led(){
digitalWrite(pin_0_led, HIGH);
function_0_led();
}
digitalWrite(pin_0_led, HIGH);
void function_0_led(){
digitalWrite(pin_0_led, HIGH);
state = 1;
}
Off
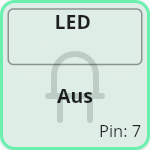
Off State
Switches the component off.
void function_0_led(){
digitalWrite(pin_0_led, LOW);
function_0_led();
}
digitalWrite(pin_0_led, LOW);
void function_0_led(){
digitalWrite(pin_0_led, LOW);
state = 1;
}
1.2 - Buzzer
Connection scheme
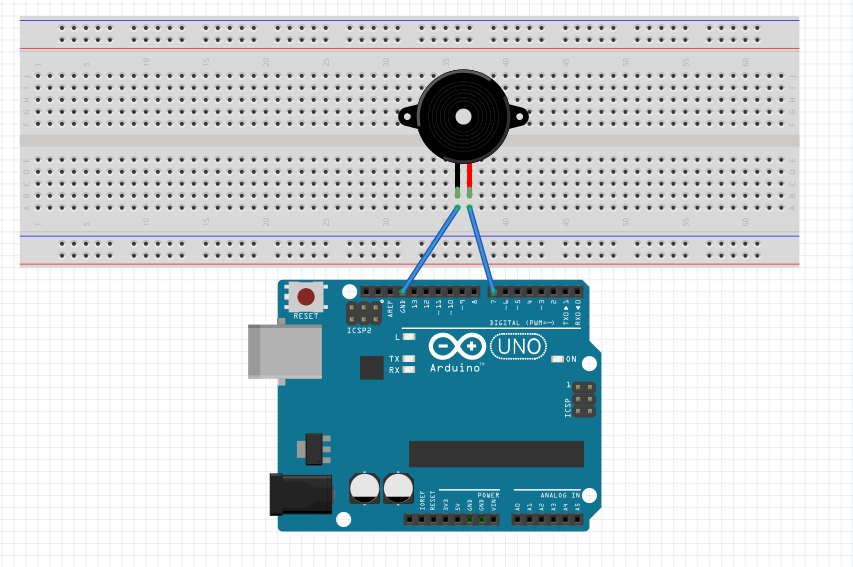
Scheme made with Fritzing.
Functions
On
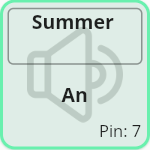
On State
Switches the component on.
void function_0_buzzer(){
digitalWrite(pin_0_buzzer, HIGH);
function_0_buzzer();
}
digitalWrite(pin_0_buzzer, HIGH);
void function_0_buzzer(){
digitalWrite(pin_0_buzzer, HIGH);
state = 1;
}
Off
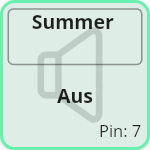
Off State
Switches the component off.
void function_0_buzzer(){
digitalWrite(pin_0_buzzer, LOW);
function_0_buzzer();
}
digitalWrite(pin_0_buzzer, LOW);
void function_0_buzzer(){
digitalWrite(pin_0_buzzer, LOW);
state = 1;
}
1.3 - Vibration Motor
Connection scheme
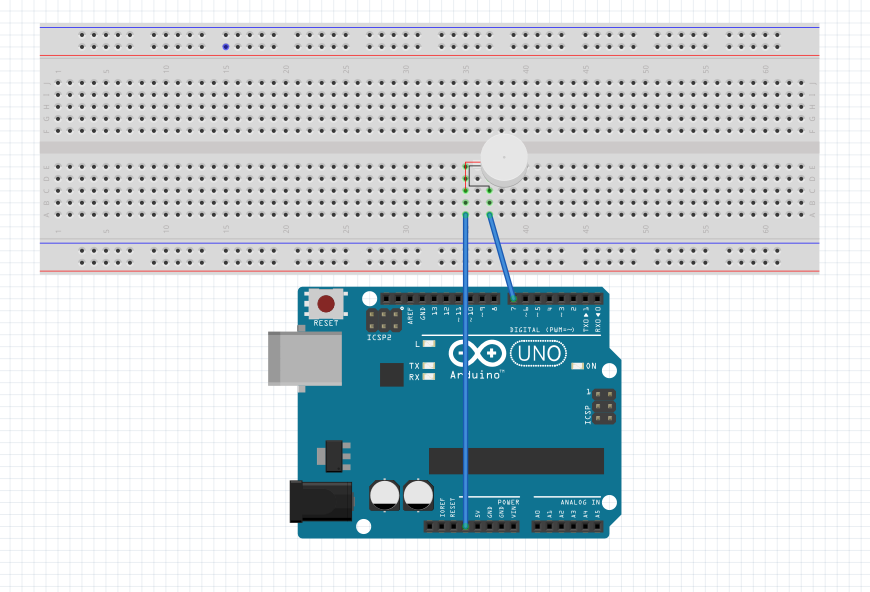
Scheme made with Fritzing.
Functions
On
On State
Switches the component on.
void function_0_vibrationMotor(){
digitalWrite(pin_0_vibrationMotor, HIGH);
function_0_vibrationMotor();
}
digitalWrite(pin_0_vibrationMotor, HIGH);
void function_0_vibrationMotor(){
digitalWrite(pin_0_vibrationMotor, HIGH);
state = 1;
}
Off
Off State
Switches the component off.
void function_0_vibrationMotor(){
digitalWrite(pin_0_vibrationMotor, LOW);
function_0_vibrationMotor();
}
digitalWrite(pin_0_vibrationMotor, LOW);
void function_0_vibrationMotor(){
digitalWrite(pin_0_vibrationMotor, LOW);
state = 1;
}
1.4 - Relay
Connection scheme
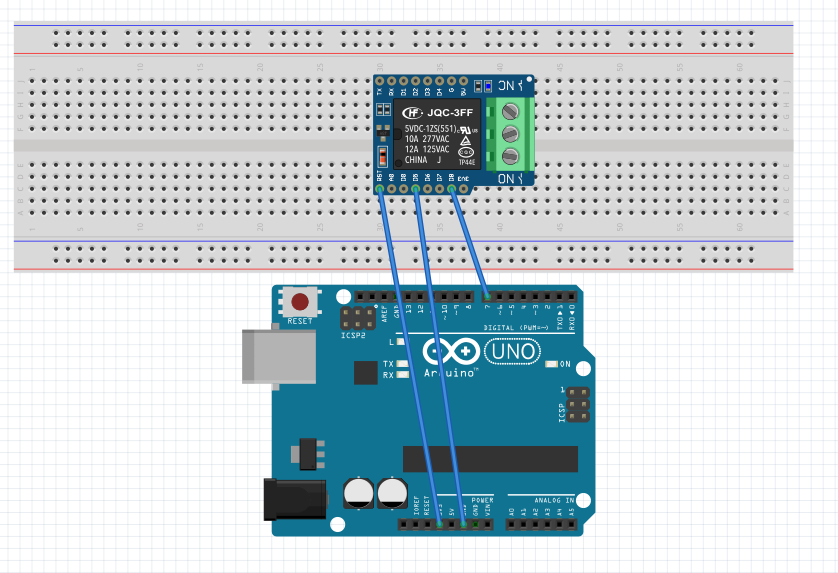
Scheme made with Fritzing.
Functions
On
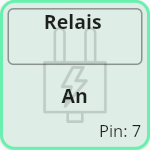
On State
Switches the component on.
void function_0_relay(){
digitalWrite(pin_0_relay, HIGH);
function_0_relay();
}
digitalWrite(pin_0_relay, HIGH);
void function_0_relay(){
digitalWrite(pin_0_relay, HIGH);
state = 1;
}
Off
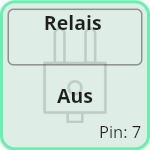
Off State
Switches the component off.
void function_0_relay(){
digitalWrite(pin_0_relay, LOW);
function_0_relay();
}
digitalWrite(pin_0_relay, LOW);
void function_0_relay(){
digitalWrite(pin_0_relay, LOW);
state = 1;
}
1.5 - Servo
Connection scheme
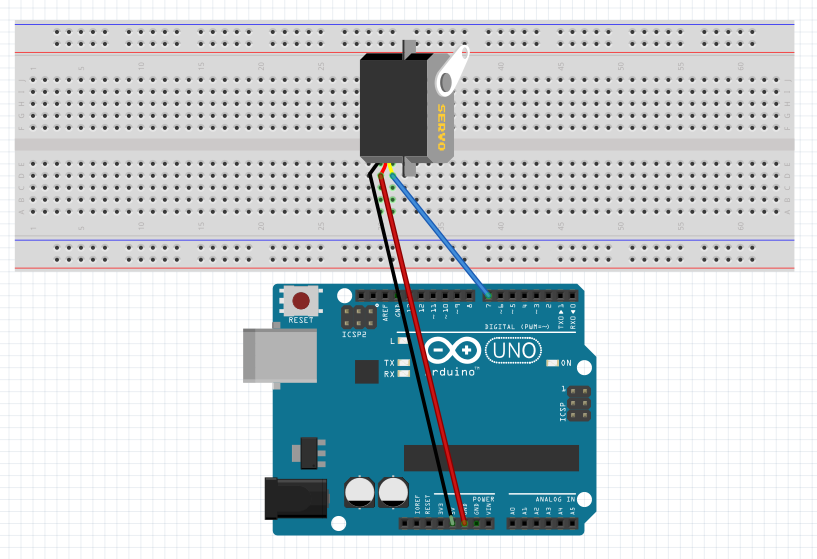
Scheme made with Fritzing.
Functions
Degree
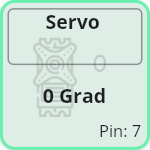
Turn servo to 0 degree
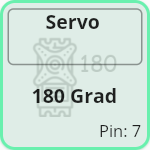
Turn servo to 180 degree
This function will turn the servo to the degree specified in the function name.
void function_1_servo(){
servo_0.write(0);
function_1_servo();
}
servo_0.write(0);
void function_0_servo(){
servo_0.write(0);
state = 1;
}
2 - Sensors
2.1 - Motion Sensor
Connection scheme
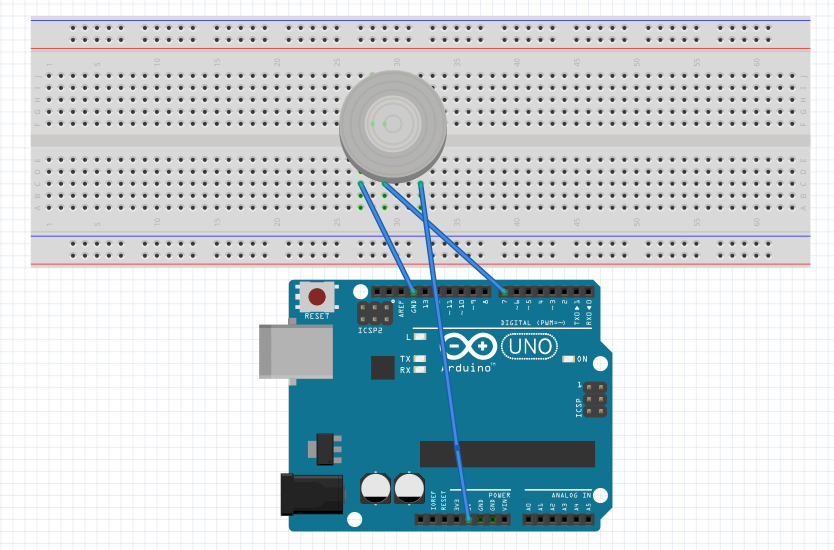
Scheme made with Fritzing.
Functions
Digital Read
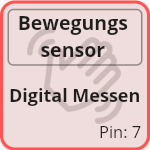
Digital Read State
Reads a digital value.
void function_0_motionSensor(){
int value = digitalRead(pin_0_motionSensor);
function_0_motionSensor();
}
int value = digitalRead(pin_0_motionSensor);
void function_0_motionSensor(){
int value = digitalRead(pin_0_motionSensor);
state = 1;
}
2.2 - Temperature Sensor
Connection scheme
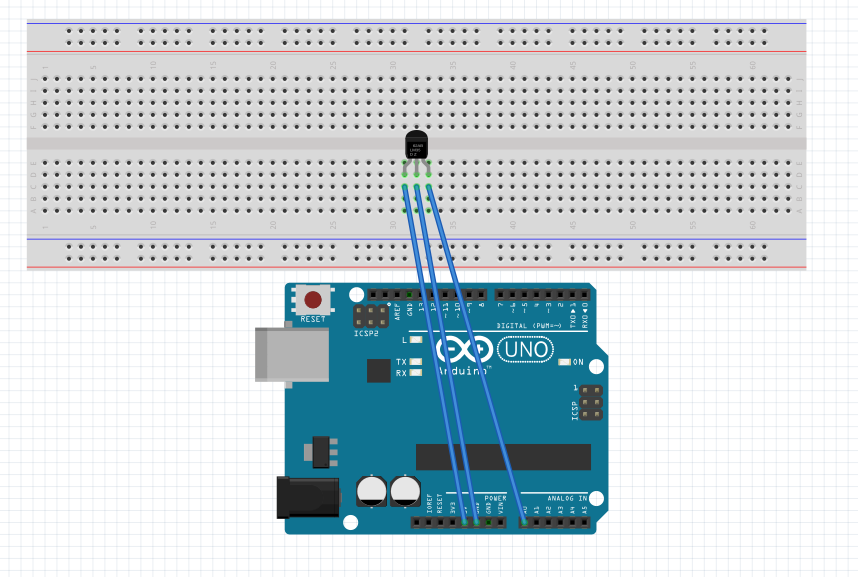
Scheme made with Fritzing.
Functions
Analog Read
Analog Read State
Reads a analog value and transforms it to Celsius.
void function_0_temperatureSensor(){
int value = map(analogRead(pin_0_temperatureSensor), 0, 410, -50, 150);
function_0_temperatureSensor();
}
int value = map(analogRead(pin_1_temperatureSensor), 0, 410, -50, 150);
void function_0_temperatureSensor(){
int value = map(analogRead(pin_1_temperatureSensor), 0, 410, -50, 150);
state = 1;
}
2.3 - Humidity Sensor
Connection scheme
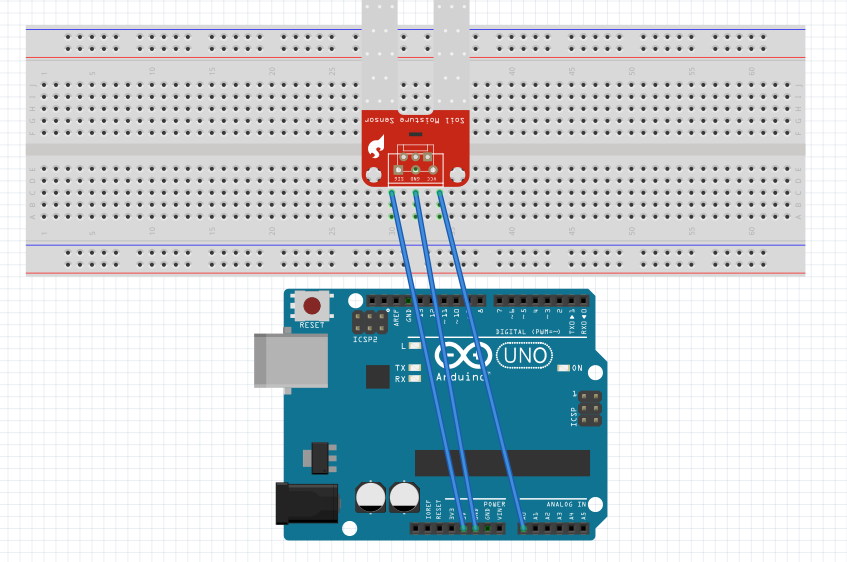
Scheme made with Fritzing.
Functions
Analog Read
Read Analog State
Reads a analog value.
void function_0_humiditySensor(){
int value = analogRead(pin_0_humiditySensor);
function_0_humiditySensor();
}
int value = analogRead(pin_0_humiditySensor);
void function_0_humiditySensor(){
int value = analogRead(pin_0_humiditySensor);
state = 1;
}
2.4 - Vibration Sensor
Connection scheme
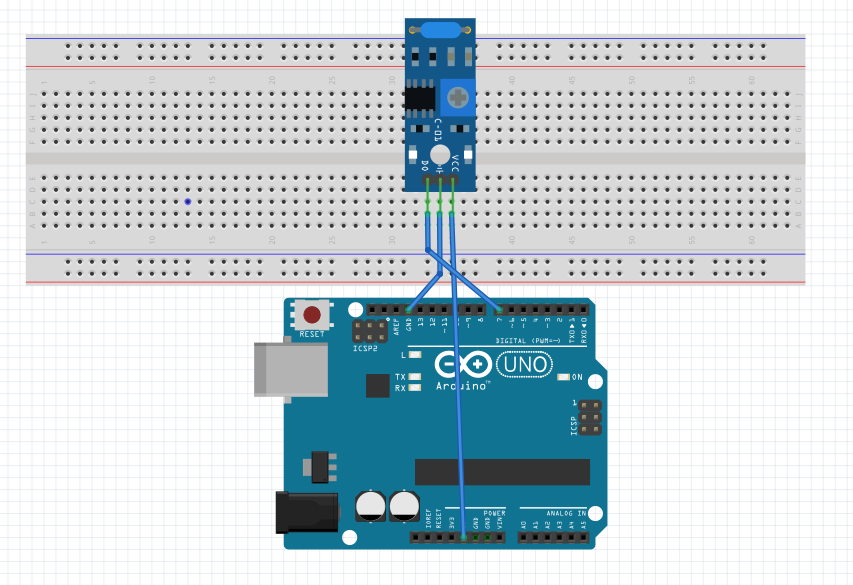
Scheme made with Fritzing.
Functions
Digital Read
Digital Read State
Reads a digital value.
void function_0_vibrationSensor(){
int value = digitalRead(pin_0_vibrationSensor);
function_0_vibrationSensor();
}
int value = digitalRead(pin_0_vibrationSensor);
void function_0_vibrationSensor(){
int value = digitalRead(pin_0_vibrationSensor);
state = 1;
}
2.5 - Loudness Sensor
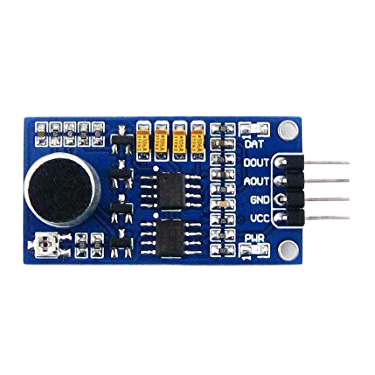
Image by funduino, CC-BY-SA.
Connection scheme
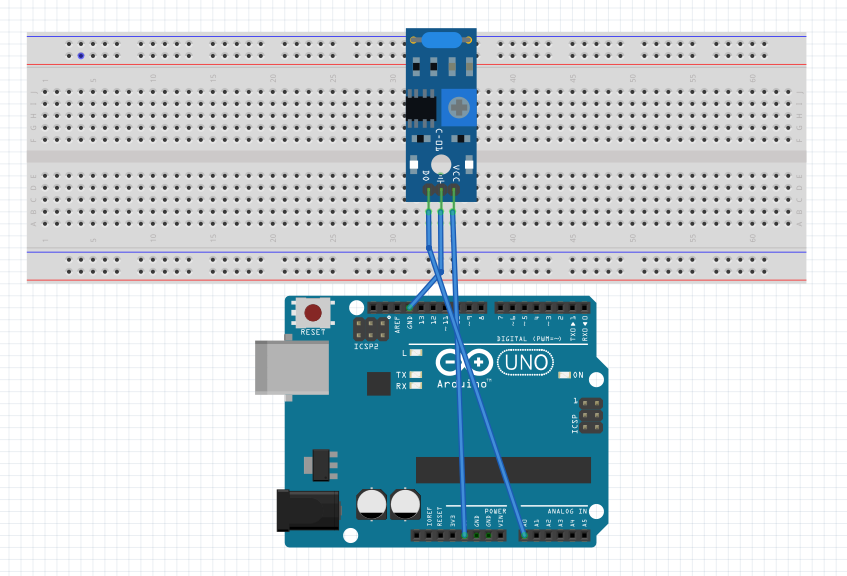
Scheme made with Fritzing.
Functions
Analog Read
Analog Read State
Reads a analog value.
void function_0_Lautst_rke_sensor(){
int value = analogRead(pin_0_loudnessSensor);
function_0_Lautst_rke_sensor();
}
int value = analogRead(pin_0_loudnessSensor);
void function_0_Lautst_rke_sensor(){
int value = analogRead(pin_0_loudnessSensor);
state = 1;
}
2.6 - Ultrasonic Ranger
Connection scheme
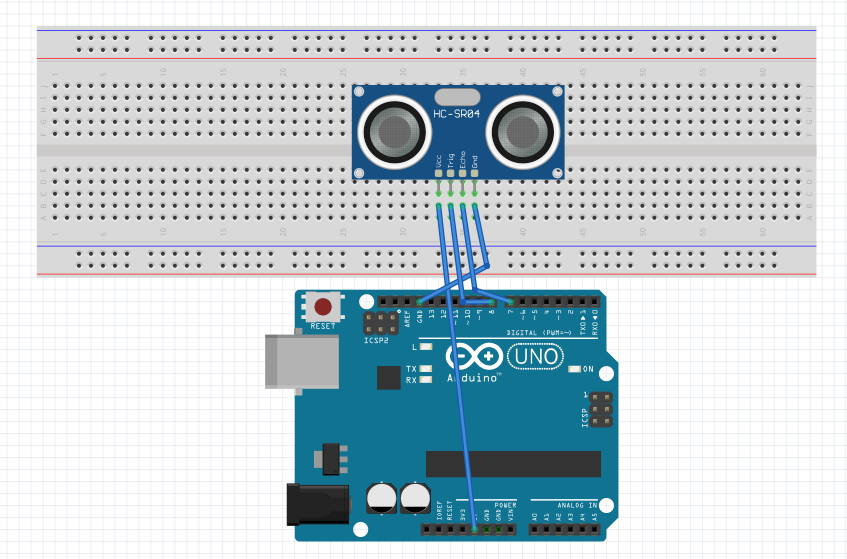
Scheme made with Fritzing.
Functions
Send Wave
Send Wave State
Sends a ultrasonic wave.
void function_0_Ultraschall_messer(){
digitalWrite(pin_2_ultrasonicRanger, LOW);
delay(5);
digitalWrite(pin_2_ultrasonicRanger, HIGH);
delay(10);
digitalWrite(pin_2_ultrasonicRanger, LOW);
function_1_Ultraschall_messer();
}
digitalWrite(pin_2_ultrasonicRanger, LOW);
delay(5);
digitalWrite(pin_2_ultrasonicRanger, HIGH);
delay(10);
digitalWrite(pin_2_ultrasonicRanger, LOW);
void function_0_Ultraschall_messer(){
digitalWrite(pin_2_ultrasonicRanger, LOW);
delay(5);
digitalWrite(pin_2_ultrasonicRanger, HIGH);
delay(10);
digitalWrite(pin_2_ultrasonicRanger, LOW);
state = 1;
}
Receive Wave
Receive Wave State
Receive a ultrasonic wave.
void function_1_Ultraschall_messer(){
long pulseValueFromWave = pulseIn(pin_2_ultrasonicRanger, HIGH);
long value = (pulseValueFromWave/2) * 0.03432;
function_1_Ultraschall_messer();
}
long pulseValueFromWave = pulseIn(pin_2_ultrasonicRanger, HIGH);
long value = (pulseValueFromWave/2) * 0.03432;
void function_1_Ultraschall_messer(){
long pulseValueFromWave = pulseIn(pin_2_ultrasonicRanger, HIGH);
long value = (pulseValueFromWave/2) * 0.03432;
state = 1;
}
3 - User Input
3.1 - Button
Connection scheme
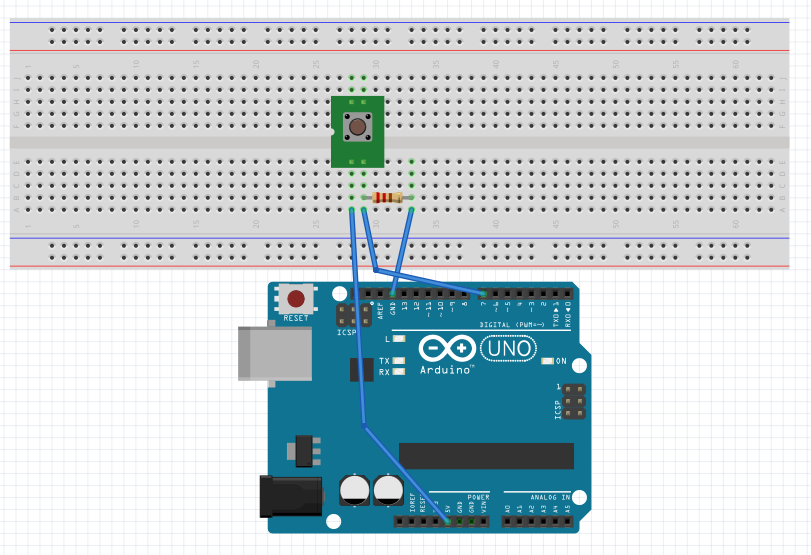
Scheme made with Fritzing.
Functions
Await Input

Await Input State
Awaits a digital value.
void function_0_button(){
int value = digitalRead(pin_0_button);
delay(200);
function_0_button();
}
int value = digitalRead(pin_0_button);
delay(200);
void function_0_button(){
int value = digitalRead(pin_0_button);
delay(200);
state = 1;
}
3.2 - Switch
Connection scheme
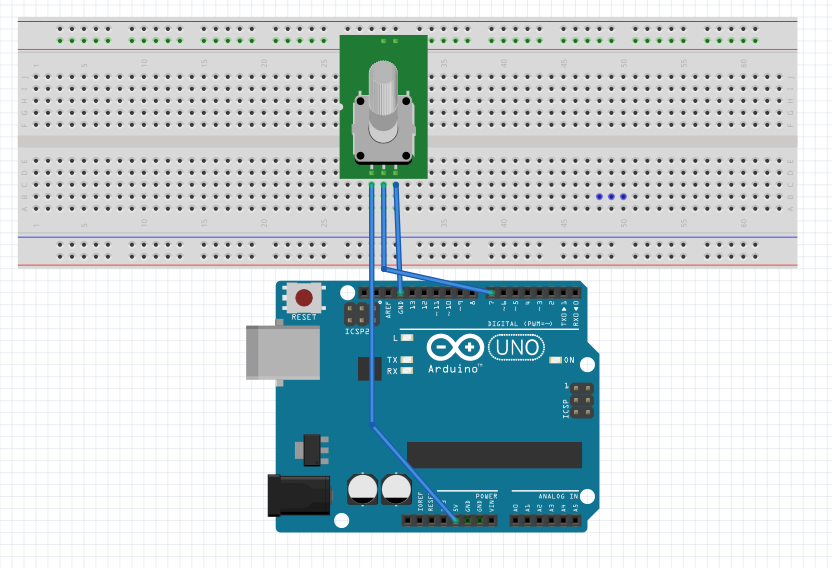
Scheme made with Fritzing.
Functions
Await Input

Await Input State
Awaits a digital value.
void function_0_Schalter(){
int value = digitalRead(pin_0_switch);
function_0_Schalter();
}
int value = digitalRead(pin_0_switch);
void function_0_Schalter(){
int value = digitalRead(pin_0_switch);
state = 1;
}
3.3 - Slider
Connection scheme
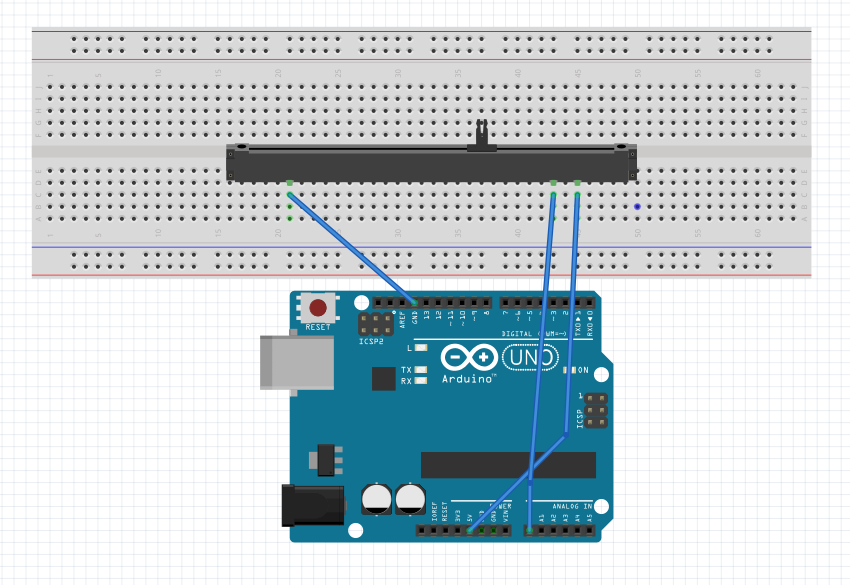
Scheme made with Fritzing.
Functions
Await Input

Await Input State
Awaits a analog value.
void function_0_Schieberegler(){
int value = analogRead(pin_0_slider);
function_0_Schieberegler();
}
int value = analogRead(pin_0_slider);
void function_0_Schieberegler(){
int value = analogRead(pin_0_slider);
state = 1;
}
3.4 - Potentiometer
Connection scheme
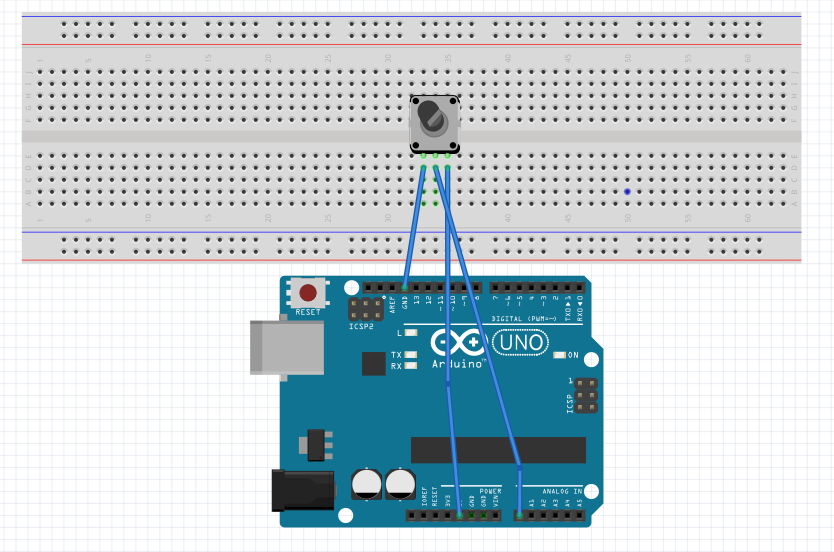
Scheme made with Fritzing.
Functions
Await Input
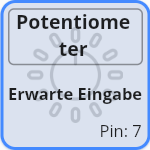
Await Input State
Awaits a analog value.
void function_0_Potentiometer(){
int value = analogRead(pin_0_potentiometer);
function_0_Potentiometer();
}
int value = analogRead(pin_0_potentiometer);
void function_0_Potentiometer(){
int value = analogRead(pin_0_potentiometer);
state = 1;
}
